| |
|||||
Valom 1/72nd Sukhoi Su-6 M-71FBy Matt Bittner |
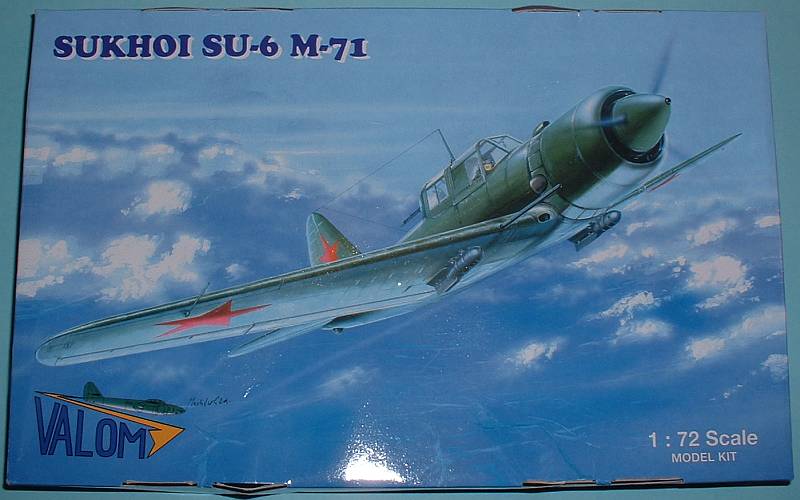 |
According to the instruction sheet, the Su-6 M-71F was Sukhoi's next foray into the Shturmovik world. However, it did not perform as well as the Il-2 (and there could have been other things going on), so lost the contract. I found a page on a web site that appears to be taken from an old Modelist Konstructor magazine. That site also has scale drawings of both the M-71F and AM-42 versions of the Su-6 - highly recommended.
 Valom
first released the Su-6 as the in-line version, the AM-42; so refer to my previous
First
Look to view comments on that release. Valom decided now to release the
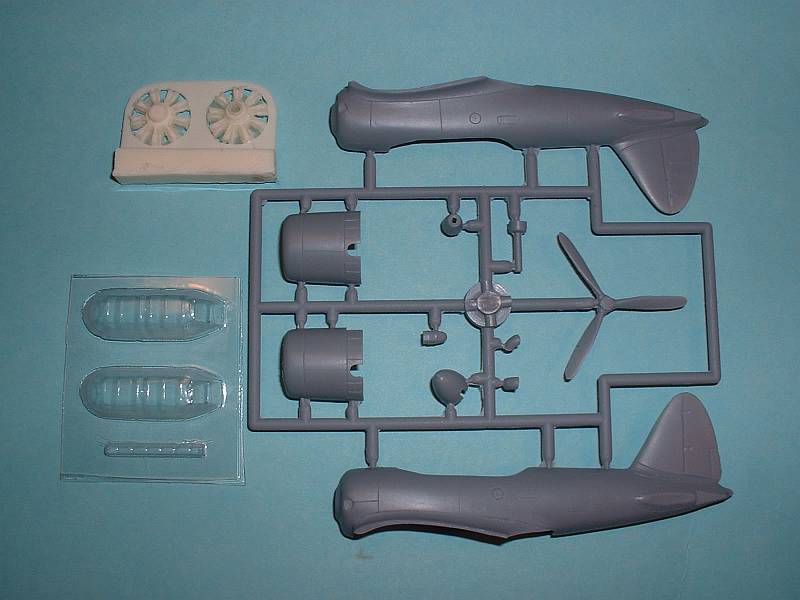
kit also as the radial, M-71F version, which this kit represents. In the box
you have the original AM-42 kit, along with a new sprue consisting of new fuselage
halves, cowl pieces, exhausts, and upper-cowl intake, as well as a new propeller
and spinner. In addition, you also receive a new, very nicely molded two-piece
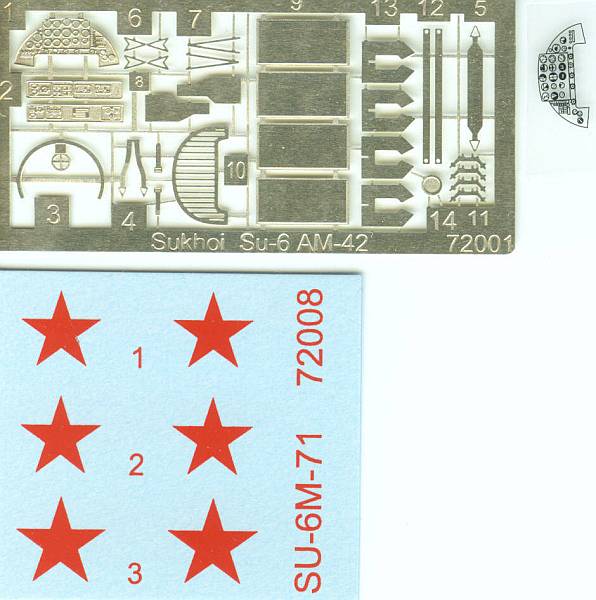
representation of the M-71 engine in resin. Valom also kept the photoetch and
instrument panel film from the first kit, along with the vac canopies and clear
landing light lens cover. New decals are also included, which just consist of
six red stars, but of a different size than what's catered for in the AM-42
release.
Valom
first released the Su-6 as the in-line version, the AM-42; so refer to my previous
First
Look to view comments on that release. Valom decided now to release the
kit also as the radial, M-71F version, which this kit represents. In the box
you have the original AM-42 kit, along with a new sprue consisting of new fuselage
halves, cowl pieces, exhausts, and upper-cowl intake, as well as a new propeller
and spinner. In addition, you also receive a new, very nicely molded two-piece
representation of the M-71 engine in resin. Valom also kept the photoetch and
instrument panel film from the first kit, along with the vac canopies and clear
landing light lens cover. New decals are also included, which just consist of
six red stars, but of a different size than what's catered for in the AM-42
release.
There is one huge contention with the M-71F release. In all actuality the wing should also have changed as its overall wing area increased from the radial to in-line version. Unfortunately changing the kit's wings won't be easy, as the outer wing was less in chord on the radial version. In order not to lose the flap and aileron detail the best bet is to remove plastic from the middle of the wing, in essence shrinking the chord of the wing in on itself. However, you would have to remove the outer wings from the inner first (at the strap line, just inside of the 37mm guns), as this inner area didn't change from version to version. In addition, it appears the outer wings were made of wood on the M-71 version; most panel lines will need to be removed (but there are still a few left, namely for access panels, so pay close attention to the plans).
Construction starts with the very well done cockpit. The cockpit consists of a single piece representing the floor for both the pilot and the rear gunner; plastic seat, control column, rear bulkhead and instrument panel backing. Photoetch provides the seat belts, instrument panel (along with the usual clear film providing the instruments); and the tops for the side consoles. My only concerns would be the width of the floor - when I built the AM-42 it wasn't wide enough - as well as the size of the rear bulkhead. It needed to be "beefed up" so it would fill the entire area it was meant to fill.
 The
cockpit doesn't have to be inserted into the fuselage before closing the fuselage
halves - the underside of the fuselage is cut out for the wing to sit in. This
means the cockpit will be able to be placed almost perfectly after all (if any)
seam removal is done on the fuselage. Photoetch helps out here in the form of
the "sling" for the rear gunner to sit on as well as the gun sight
and its mounting "bracket".
The
cockpit doesn't have to be inserted into the fuselage before closing the fuselage
halves - the underside of the fuselage is cut out for the wing to sit in. This
means the cockpit will be able to be placed almost perfectly after all (if any)
seam removal is done on the fuselage. Photoetch helps out here in the form of
the "sling" for the rear gunner to sit on as well as the gun sight
and its mounting "bracket".
Once the fuselage and internals are all finished the kit's main construction continues. Gluing on the wing's undersurface as well as the wings' upper surfaces; gluing on the horizontal tails (which is a butt join which may require some sort of pins), adding the landing gear and other external details. Be sure to pain attention to the instructions when adding the wing undersides. There is a "notch" in the wing undersides that needs to be removed so it fits the new fuselage. The undercarriage is an area that Valom has used photoetch to good advantage. All landing gear doors are photoetch (which means they're nicely in scale) but the "bumps and protrusions" are provided for in plastic.
One more area that you need to pay attention to is the inlet in both wing roots on the leading edge of the wing. These didn't exist on the M-71 version so need to be sanded away and removed (which the instructions call out for).
Construction continues with the addition of the canopy and other small details; however, I would leave these off until after painting. One aspect where the plastic shines is the rear-facing gun. An extremely nicely molded and detailed piece of plastic. With the right wash and dry brushing the gun will definitely seem life-like.
 Bombs
are catered for in the kit, the bodies being plastic with the fins coming off
the photoetch fret. Maybe this time I'll actually add them to the model (as
opposed to when I built the AM-42 I liked the looks of the kit without the bombs).
Bombs
are catered for in the kit, the bodies being plastic with the fins coming off
the photoetch fret. Maybe this time I'll actually add them to the model (as
opposed to when I built the AM-42 I liked the looks of the kit without the bombs).
Since the Su-6 M-71F was only a prototype, colors would be mainly AII Green upper surfaces with AII Blue undersurfaces. In addition, since it's only a prototype, there would have been no markings except for stars in the usual places.
This is a nice addition to the AM-42 kit released a few years ago. Assembling both and displaying them side-by-side will provide for excellent conversation. You'll be able to see the progression Sukhoi took from a radial-version to the more in-line version of the AM-42. While there are some questions in regards to the wing shape and size, this is still a very decent kit and if you enjoy VVS prototype machines you would enjoy building this model. It comes definitely recommended.
My thanks to Valom for providing the review sample.