Yak UT-1 Trainer
1:48 Scale
by Hector Mirasol
Yak UT-1 Trainer 1:48 Scale
|
|
 This
is a resin kit from Neomega in 1/48 scale and it was build strait from the box.
It is rather expensive but the quality is excellent. There are two different
versions, the training/civilian version and the military one.
This
is a resin kit from Neomega in 1/48 scale and it was build strait from the box.
It is rather expensive but the quality is excellent. There are two different
versions, the training/civilian version and the military one.
The moulding is superb and the finesse of the details has to be seen to be believed as it is the case in all the Neomega products that I have seen so far. I wonder if they have a couple of gnomes that do the moulds for them (instead than the big Russian bloke that I met at the IPMS british nationals last year. Nasdarovie!)
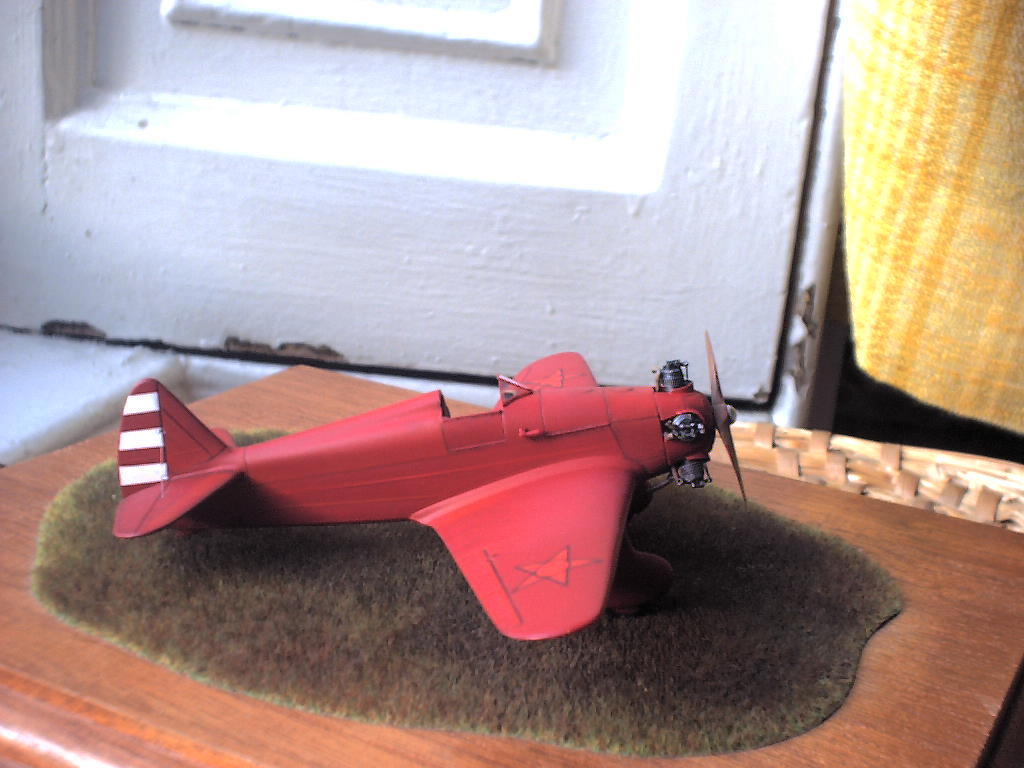
The fuselage comes in just one part that includes the fin and the interior details of the cockpit. It is perfect and mine did not needed any sanding or filing. The inside of the cockpit includes a nice seat, a very nice instrument panel, the rudder pedals and a couple of levers. The small cockpit access doors come separately and you can display it with them closed or open (as I did to allow a good view of the inside.
 The
cowling comes as a separate part as well as all 5 cylinders (there is a spare
one in case you spoil one). This is the only thing that needs a bit of care
and dry fitting. Because the cylinder has to be cut out from the resin sprue
it is unclear how long should it be. Also it is supposed to be glued to a hole
that is engraved on the cowling, but mine was not going in well, so finally
I did cut all 5 of them at the same length, filled the hole an glued them in
a symmetrical distribution. The whole thing is a very minor job.
The
cowling comes as a separate part as well as all 5 cylinders (there is a spare
one in case you spoil one). This is the only thing that needs a bit of care
and dry fitting. Because the cylinder has to be cut out from the resin sprue
it is unclear how long should it be. Also it is supposed to be glued to a hole
that is engraved on the cowling, but mine was not going in well, so finally
I did cut all 5 of them at the same length, filled the hole an glued them in
a symmetrical distribution. The whole thing is a very minor job.
The exhausts are also given, one for each cylinder and a double one for the
two lower ones. The 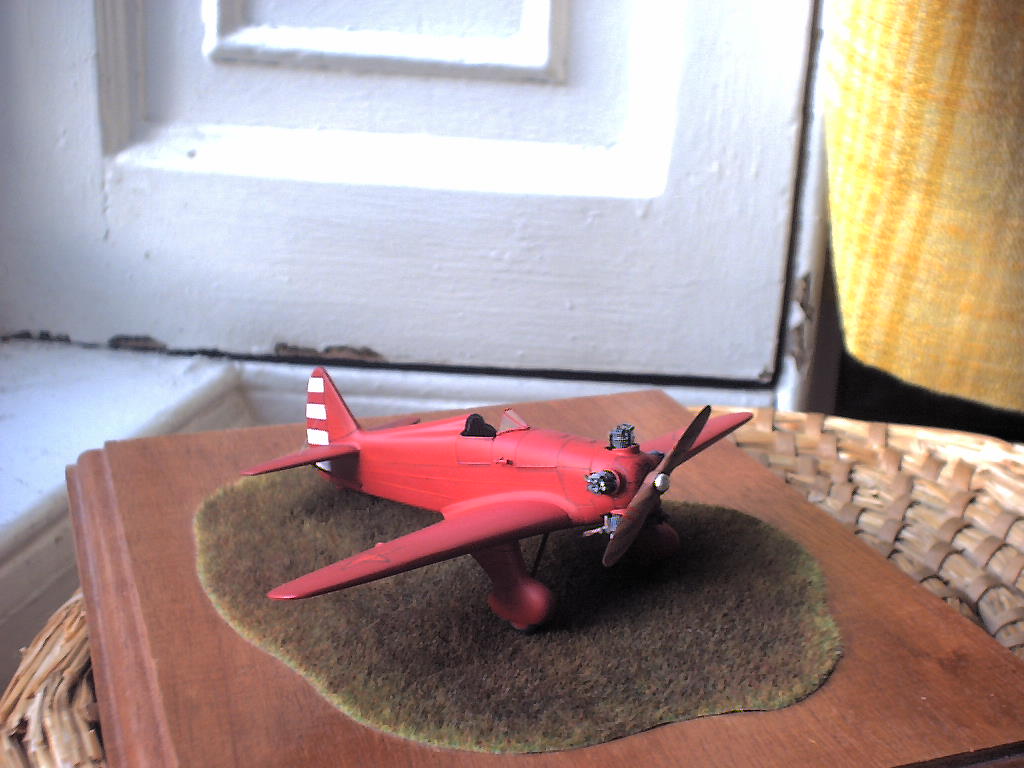 undercarriage
consists of two legs and wheels. The inside of the wheel is resin and the tyre
is of rubber. Both wings are just one part and fit perfectly. No filler
at all was needed on mine.
undercarriage
consists of two legs and wheels. The inside of the wheel is resin and the tyre
is of rubber. Both wings are just one part and fit perfectly. No filler
at all was needed on mine.
I drilled a small hole in the fuselage and fitted a metal tube to secure the lateral stabilizers. The last part is the propeller. The windscreen is done from acetate using a pattern that is given with the instructions.
Instructions are the only thing on this kit that let it down. Probably enough to build it, but I had to look for additional information to be sure that I was doing things properly.
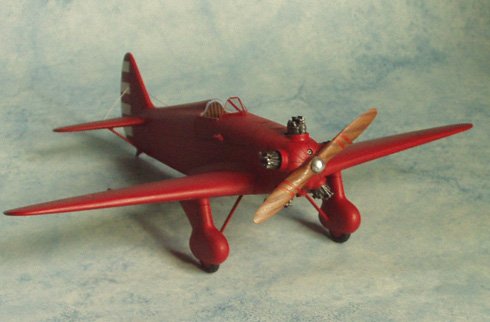
 I
decided to paint it as Yakolev built the first UT-1, all red whit the usual
white and red stripes on the rudder. The whole plane was first given a primer
coat to ensure that the finish was smooth and there were no pitfalls. Once all
small defects were sorted out I gave several thin coats of Red (acrylic). As
I normally do, I used different shades of red to reinforce structural details
and panels (top of fuselage, cowling , wings, and fuselage sides; same was done
underneath). For the tail stripes, I first sprayed it white, then masked it
and sprayed the red.
I
decided to paint it as Yakolev built the first UT-1, all red whit the usual
white and red stripes on the rudder. The whole plane was first given a primer
coat to ensure that the finish was smooth and there were no pitfalls. Once all
small defects were sorted out I gave several thin coats of Red (acrylic). As
I normally do, I used different shades of red to reinforce structural details
and panels (top of fuselage, cowling , wings, and fuselage sides; same was done
underneath). For the tail stripes, I first sprayed it white, then masked it
and sprayed the red.
Once dry I only gave a thin coat of varnish in some areas because I really love the finish of paint alone. Unfortunately, in areas that you are going to apply decals varnishing is mandatory prior to and after putting on the decals. The plane has some tension wires on the tail and undercarriage.
 And
that is all folks!
And
that is all folks!
P.S. When I did this little plane I painted the inside in the usual soviet way, with a wood primer shade. As I found ( later!) the instrument panel was black, the cockpit floor was just wood and the side walls were left in a pale yellowish kind of linen shade.
I do strongly recommend this trendy plane to anyone that can spare the few rubles that it costs.