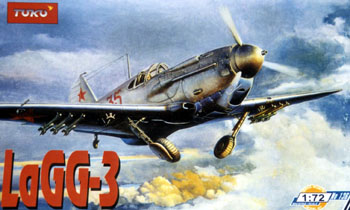
Toko 1/72nd LaGG-3By Matt BittnerPhotography by David Van Wagoner |
|
History
Designed in 1938 as one of a new generation of Soviet monoplane fighters, the LaGG-3 was the gifted product of a somewhat unlikely design team comprising two junior Designers working under the direction of the Minister for the People's Commissariat of the Aircraft Industry. Designed as an all-wooden aircraft and contrary to the standard notion, the I-301 prototype was in fact very innovative in its use of advanced timber products such as "shpon" laminate sheeting and wood-plastics, and its basic structural design remained largely unchanged right through to the La-7 program.
The model depicts an aircraft of the 44 IAP in the Leningrad area, probably in the early spring of 1942. "White 15" is clearly a very early machine, possibly of the first several series. It appears to be a five-gun model LaGG-3, and has had its sliding canopy removed (as seemed to be quite common in the 44 IAP). The pilot of this aircraft is unknown, but the photograph was found in the possession of the brother (Andrei) of the 44 IAP's (11 GIAP) leading ace, Alexandr Savushkin.
The Kit
 The Toko LaGG-3 kit consists of 83 injection-molded pieces on three main
sprues, plus a small sprue of 6 clear pieces. The decal sheet provides markings
for five schemes: Galtchenko's "Series 1" of the 145 GShAP; Kostylevs
"Series 5" of the 3 GShAP; Puzanovs "Series 11" of
the 145 ShAP; Grigoryevs "Series 35" of the 178 ShAP; and Shchipovs
"Series 66" of the 9 ShAP. Decals appear sharp and in register.
Plus, there are enough decals to finish each and every scheme.
The Toko LaGG-3 kit consists of 83 injection-molded pieces on three main
sprues, plus a small sprue of 6 clear pieces. The decal sheet provides markings
for five schemes: Galtchenko's "Series 1" of the 145 GShAP; Kostylevs
"Series 5" of the 3 GShAP; Puzanovs "Series 11" of
the 145 ShAP; Grigoryevs "Series 35" of the 178 ShAP; and Shchipovs
"Series 66" of the 9 ShAP. Decals appear sharp and in register.
Plus, there are enough decals to finish each and every scheme.
The kit provides options for the major versions of the LaGG-3. Three
early versions (identified as belonging to the 1st, 5th, and 11th Series
of manufacture) and two later versions (35th and 66th Series) are provided.
A word of caution: Its impossible to differentiate between major subtypes
of the LaGG-3 by the production 'Series 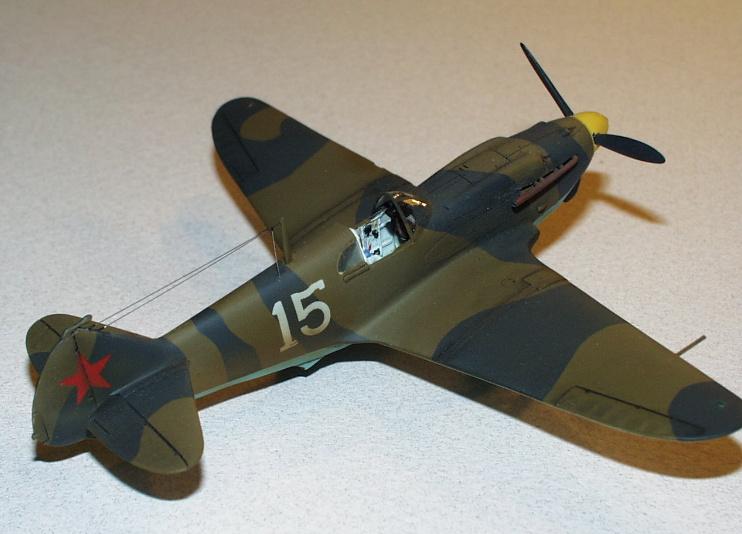 number' due to numerous field and factory modifications. When modeling
a LaGG-3, it is always best to work with a photo of a specific aircraft.
number' due to numerous field and factory modifications. When modeling
a LaGG-3, it is always best to work with a photo of a specific aircraft.
The different kit options are: 3 sets of upper noses; 2 sets of spinners; 3 different horizontal tails; 2 different rudders; 2 sets of upper wing pieces; 2 different canopies; 2 different radiator bath "covers"; 2 different radiator exhaust flaps; 3 different chins; 2 different antenna masts; 2 ways of modeling the tail wheel area (fixed or not); 2 types of pitot tube; and 3 different exhausts. Also included with the kit are underwing fuel tanks and 8 RS-82 rockets and their launching rails. Unfortunately the kit does not come with a gun sight. To finish this model, a gun sight was "robbed" from a Dakoplast LaGG-3.
There are some steps you will have to take that arent spelled out in
the plans. Most 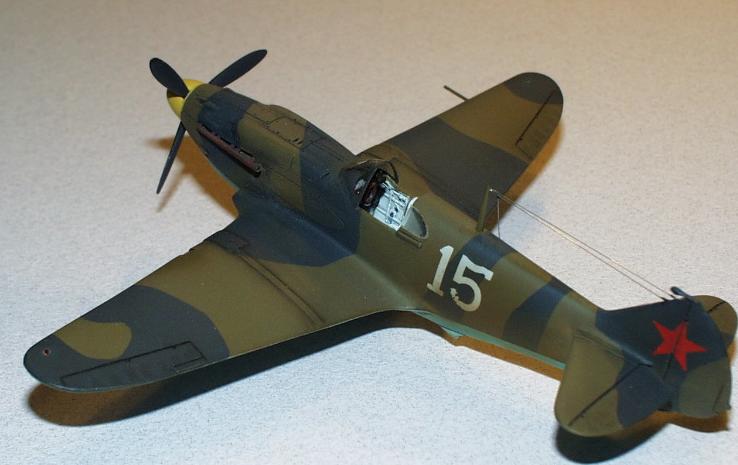 of the later versions of the LaGG-3 had the stainless steel exhaust plate
removed (the area under the cockpit and behind the exhaust). It is imperative
to have a photo of the aircraft you are modeling to see if this plate
was attached or not. If you model the earlier versions ("Series"
1, 5, and 11) then you will have to remove the fairings next to the wheel
wells on the lower wing halves, as well as alter the shape of the radiator
bath exhaust channel. Plus, some machines had landing lights in either
the port or starboard leading edge, or sometimes both.
of the later versions of the LaGG-3 had the stainless steel exhaust plate
removed (the area under the cockpit and behind the exhaust). It is imperative
to have a photo of the aircraft you are modeling to see if this plate
was attached or not. If you model the earlier versions ("Series"
1, 5, and 11) then you will have to remove the fairings next to the wheel
wells on the lower wing halves, as well as alter the shape of the radiator
bath exhaust channel. Plus, some machines had landing lights in either
the port or starboard leading edge, or sometimes both.
The kit features recessed panel line detail, as well as finely molded
rivets on the metal paneled areas. The fabric representation on the horizontal
tails, rudders and ailerons is well executed. Cockpit detail is superb,
with the only dressing up needed consists of the addition of seat belts,
and maybe the replacement of the rudder 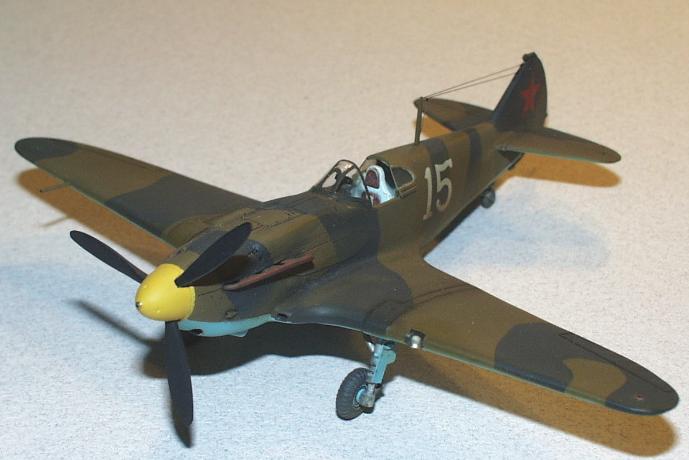 pedals. These pedals are molded onto the floor, and dont represent the
complex shape of the real rudder pedals and their "support structure".
The clear parts are well executed.
pedals. These pedals are molded onto the floor, and dont represent the
complex shape of the real rudder pedals and their "support structure".
The clear parts are well executed.
Unfortunately, the fit on this kit is not that great. While I was worried about one particular section of the kit - the upper nose - it turned out the rest of the kit needed major work done to it. Dont get me wrong, I dont mind the work, I just wasn't expecting it.
A PART photoetch set for the Dakoplast LaGG-3 "Series 66" was used to dress up certain areas. Some cockpit parts, radiator grills and main landing gear doors were the main items used. Brake lines were also added to the undercarriage legs, although it's hard to tell this in the photos.
 There are certain areas on this kit that can be tricky. The upper nose
required only dry fitting and sanding before attaching. The only "seam
work" needed here was the addition of CA into the gaps, swiping a
finger over these areas resulting in a most realistic "panel line".
The landing gear wells should first be added to the lower wing. Then,
the lower wing half should be added to the fuselage before the upper wing
halves are added. After gluing the lower wing on the fuselage, the landing
gear wells had to be sanded down before the upper wing halves would fit.
Also, the upper wing halves had to have some sanding done where the leading
edge meets the landing gear wells before they would fit as well.
There are certain areas on this kit that can be tricky. The upper nose
required only dry fitting and sanding before attaching. The only "seam
work" needed here was the addition of CA into the gaps, swiping a
finger over these areas resulting in a most realistic "panel line".
The landing gear wells should first be added to the lower wing. Then,
the lower wing half should be added to the fuselage before the upper wing
halves are added. After gluing the lower wing on the fuselage, the landing
gear wells had to be sanded down before the upper wing halves would fit.
Also, the upper wing halves had to have some sanding done where the leading
edge meets the landing gear wells before they would fit as well.
The underside area needs careful attention. The radiator bath parts
need careful dry fitting and sanding for a decent fit. The chin parts
need 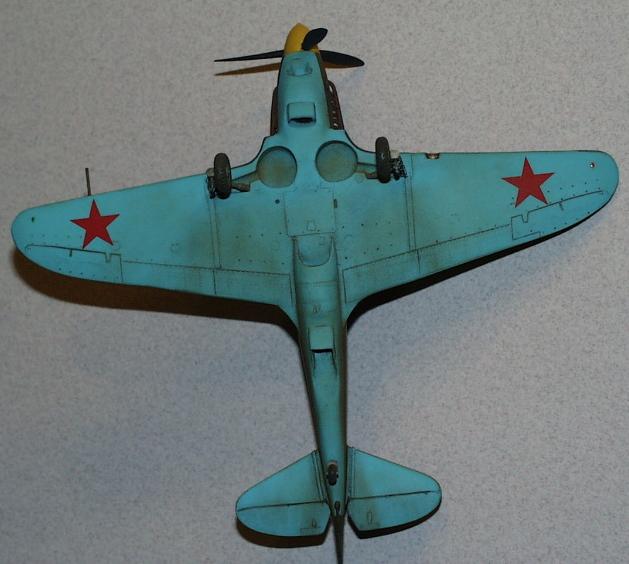 some putty work to fair them into the fuselage, and each exhaust flap
- chin and radiator - need thinning not only to bring them into scale,
but also for them to fit. Since the aircraft being modeled was not fitted
with the AFM tactical camera, the cut out for the small window on the
underside was filled in.
some putty work to fair them into the fuselage, and each exhaust flap
- chin and radiator - need thinning not only to bring them into scale,
but also for them to fit. Since the aircraft being modeled was not fitted
with the AFM tactical camera, the cut out for the small window on the
underside was filled in.
The worst areas seam-wise were the horizontal tail parts. Unfortunately the sanding in this area took off the straps, which had to be replaced with strip styrene.
The exhaust pipes of the earlier versions stick too far out from the fuselage. Unfortunately this was not noticed on the review model until it was "too late".
Additions to this model include syringe needles for the nose guns as
well as a "squashed" replacement windscreen and small rear windows.
The landing light was 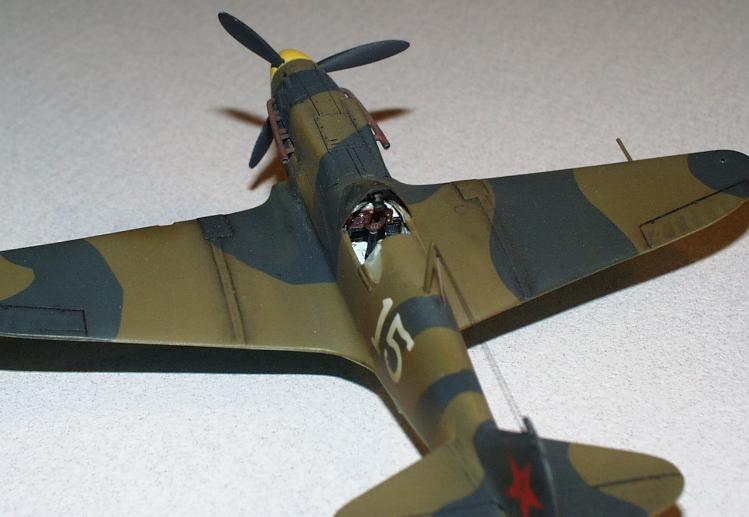 replaced, by adding an MV Products lens to the area, then filling in with
Kristal Kleer.
replaced, by adding an MV Products lens to the area, then filling in with
Kristal Kleer.
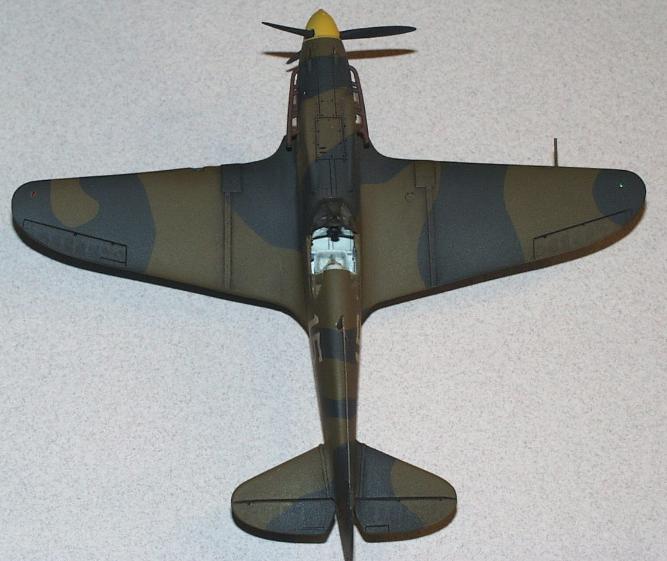
The scheme is from a photograph given to a friend from a pilot. Its a machine from the 44 IAP operating on the Leningrad front. The "White 15" decals were generated from an ALPS printer, while the stars came from the kit. Paints are all Polly Scale. Unfortunately after painting, and upon further research, it was discovered the "olive" is a bit too brown.
Thanks to Erik Pilawskii for all the help.
References
- Fighting Lavochkin , Alanshin, Michael E., Aviation International, Lynnwood, WA
- Red Stars , Guest, Carl-Fredrik, Kalevi Keskinen and Kari Stenman, AR-Kustannus Oy, Kangasala, Finland, 1993
- Sovietskie Istrabeteli