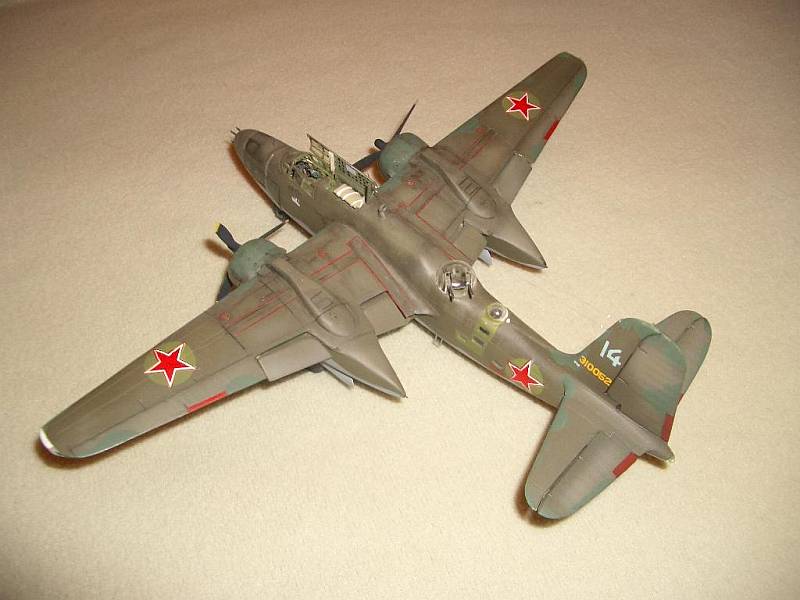
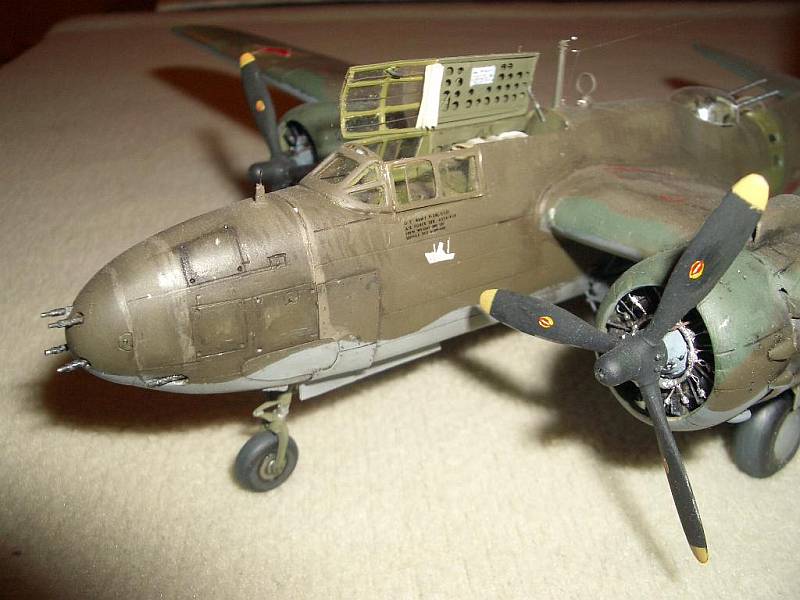
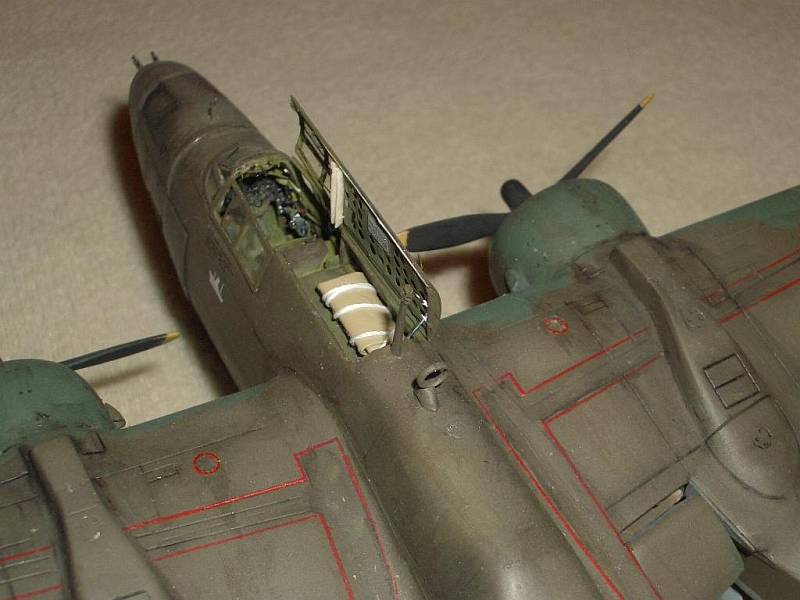
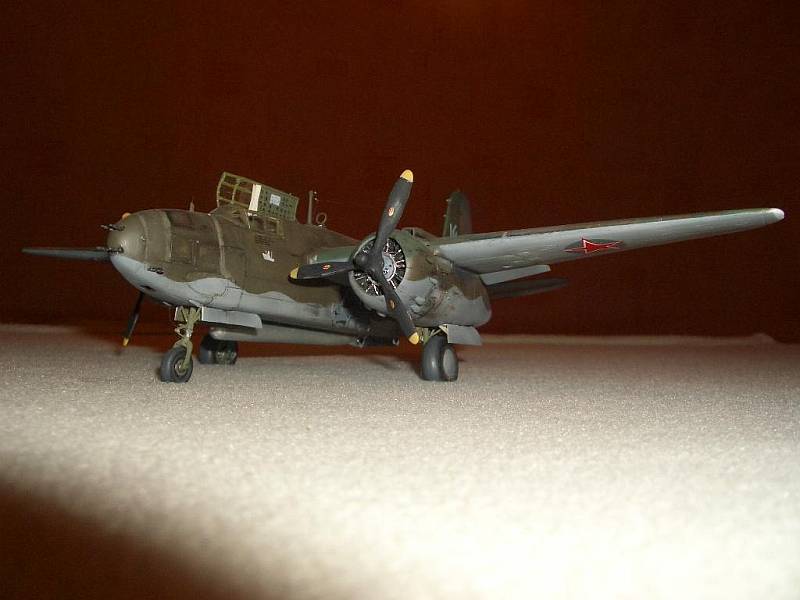

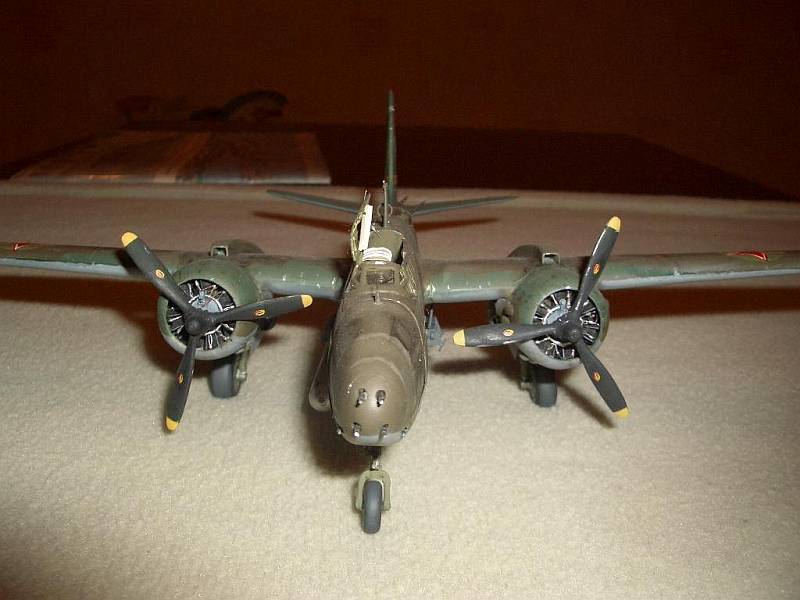
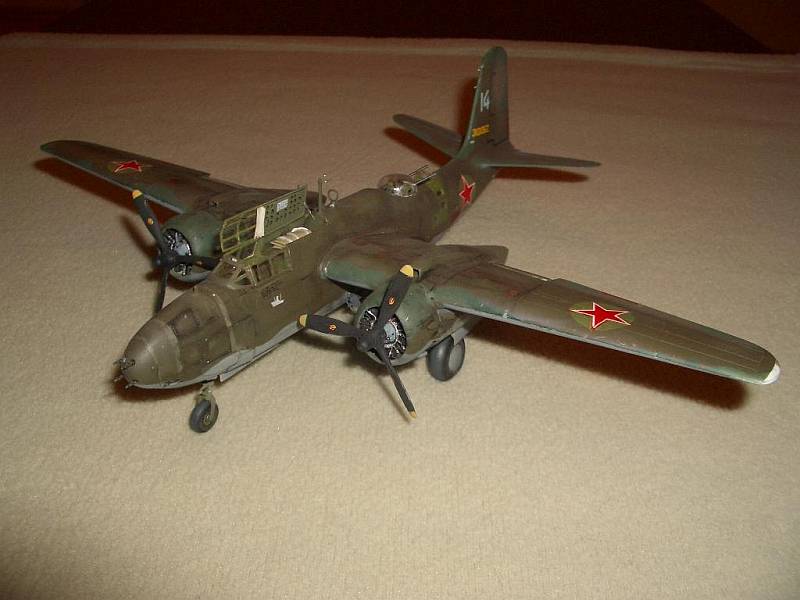
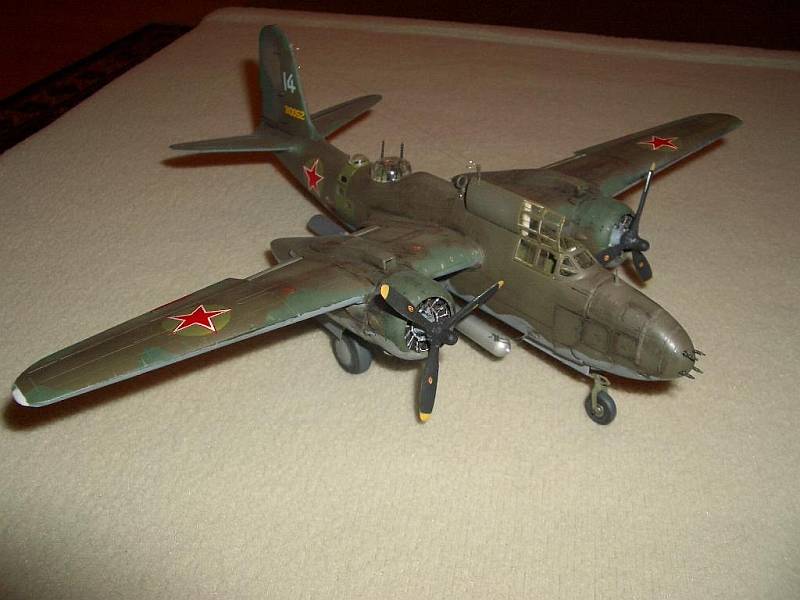
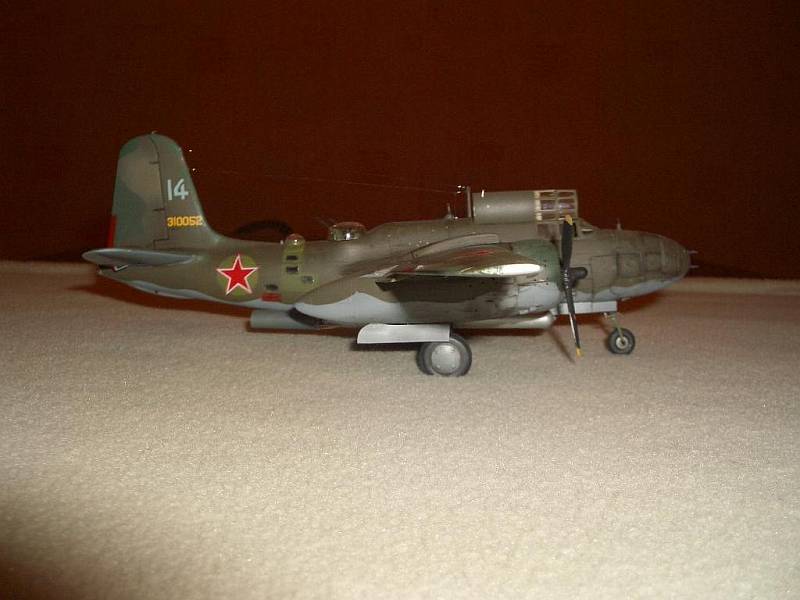
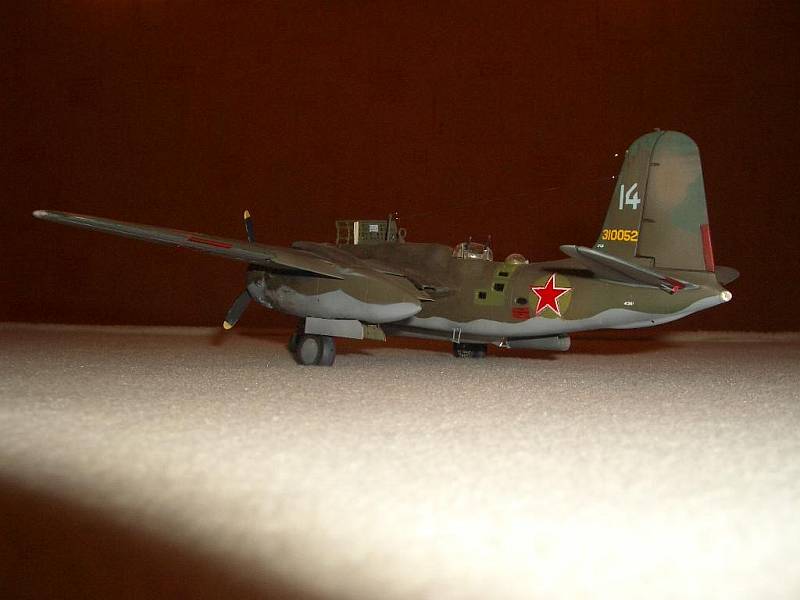
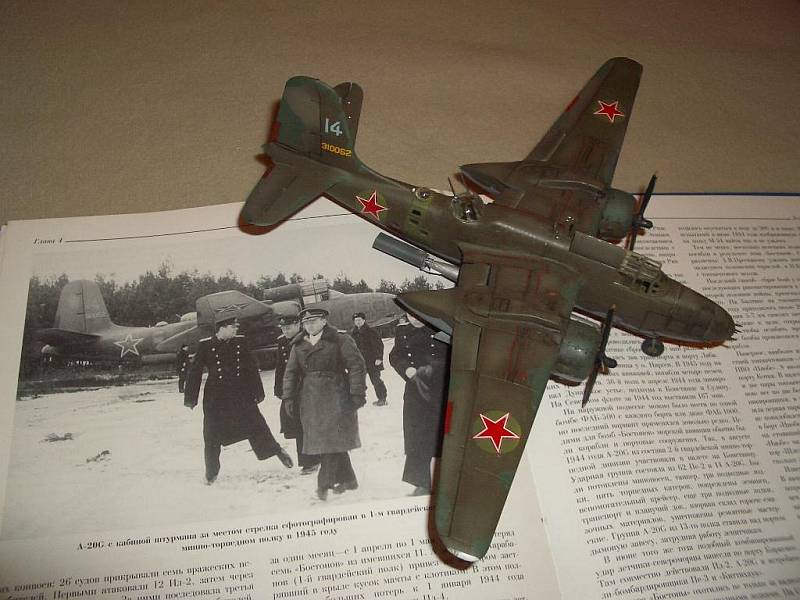
A-20G, 1/72 scale ( Alex Ruchovsky ). "This is the old good Matchbox kit as it offers a very good fuselage and wing shape. The biggest effort was to trim down oversized cowlings and nacelles, also the nose shape wanted a bit of adjustment. Scratchbuilt were all interiors, engines and their details, turret, torpedo suspension racks and other minor details. Most markings airbrushed. Finished as G.Yenikeyev's blue 14 of 51 MTAP VVS KBF in 1945."
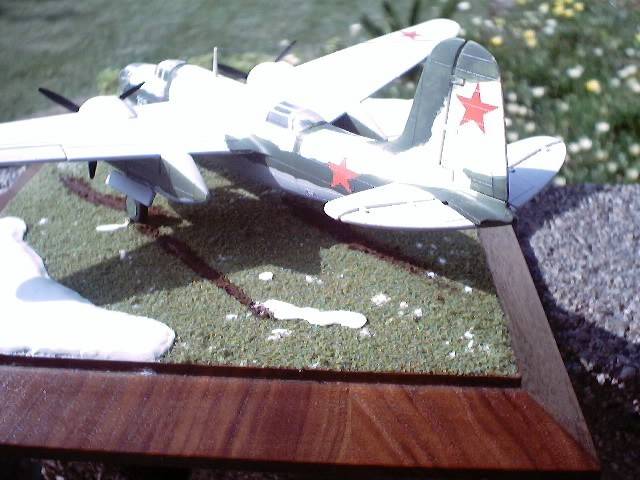
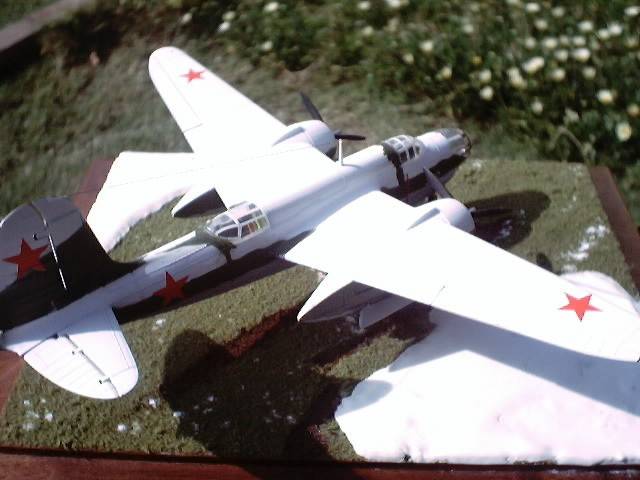
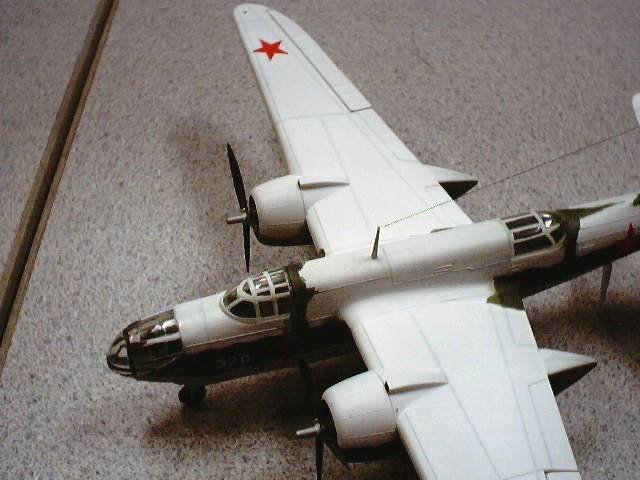
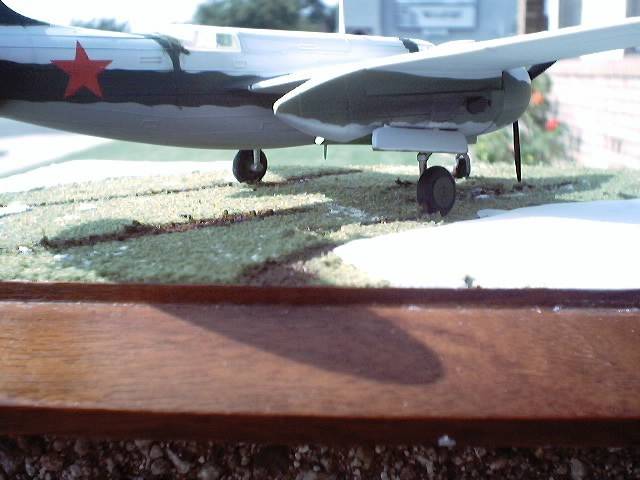
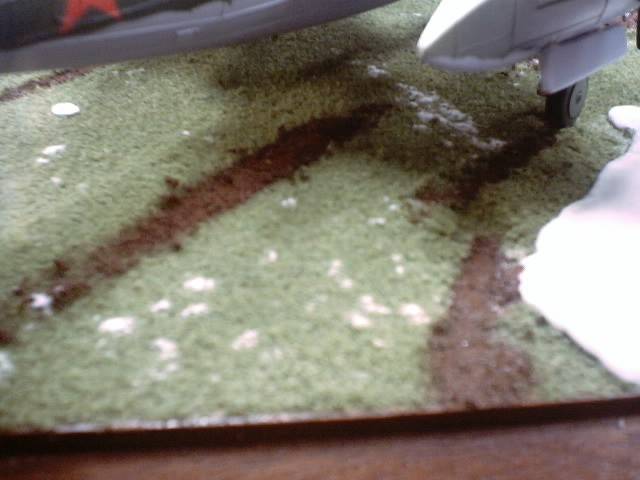
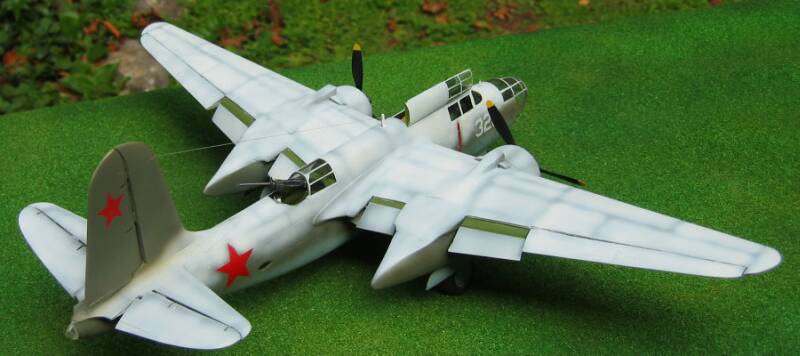
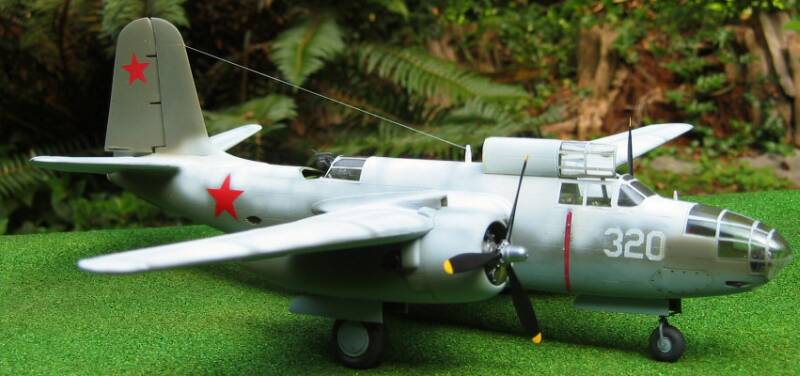
A-20, 1/72 scale ( Rene Hoyo ). "This is the 1/72nd scale Airline A-20 Havoc. This is an old model but better than the airfix since it doesn't have all the oversize rivets. The model lacks any interior detail and I had to add some sheet styrene to cover the hollow fuselage. I added about a ton of nose weight but this was not sufficient to keep the plane on its nose. The whole model fits together really nice and there's really no need for any putty. The clear parts are somewhat thick but after I had polished them with Novus fine scratch remover the appearance of the clear parts improved somewhat. Before applying the top coat of white, I painted every single panel line in dark green tone and then proceeded to airbrush the top of the plane using Tamiya gloss white. The undersurface of the plane was painted in Tamiya medium gray. After letting the paint dry for at least one day, I masked the plane to expose the part where the dark green should be applied. I used Model Master acrylic dark green. The whole model was then airbrushed with Model Master acrylic gloss to apply the decals. The decals came from the 1/72 Red stars sheet from CAM's decals line while the numbers came from an extra sheet of USAF numbers that I had in my collection. I used fishing wire for the antennae and the whole model was finished in Model Master Acrylic flat. As for the base, the grass comes in a bag and it's mainly used for railroad dioramas, I think it's called fake grass. There are several shades of green and you must select the type of grass to use depending on the diorama you are planning to build. I used burn grass since I figured it was the most appropriate shade to go with the snow. I used Tamiya acrylic gloss and baking soda mixed together with a few drops of white to simulate the snow. This mixture is ideal for snow dioramas and once prepared it could be spread like butter on the surface to be treated. The mud was the easiest part, all I had to do was to mix some brown, red and rust to simulate the mud and with a thick brush apply it to the surface. I didn't scrape off the grass but instead left it there so when it mixed with the mud paint you get the effect of muddy chunks. I sprinkled some more baking soda and sealed the whole base with hair spray. Super hold hair spray that is. It took first place at IPMS Orange.
A-20B, 1/48 scale ( Michael Leduc ). AMT A-20 finished as one from the Northern Fleet. It is featured as a profile on the back of the Warpaint on the A-20.

A-20G, 1/48 scale ( Michael Leduc ). See his build article.